Table of Contents
SSH is a powerful and versatile tool for achieving optimal security, privacy, and anonymity. By mastering local, remote, and dynamic port forwarding, along with implementing robust authentication and hardening practices, you can significantly enhance your digital security posture.
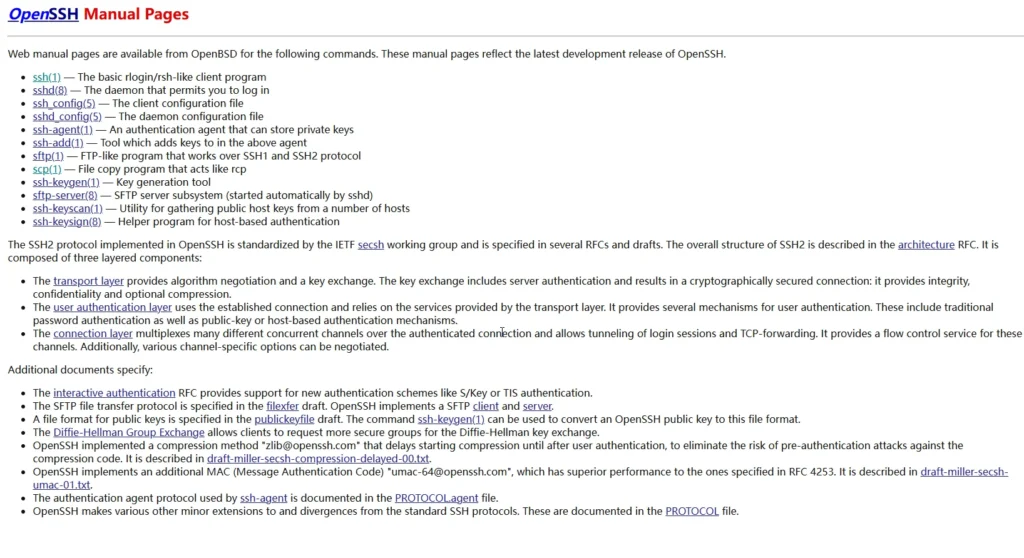
SSH: Secure Shell Overview
Introduction to SSH
- Definition:
- SSH (Secure Shell) is an encrypted network protocol that provides a secure channel between a client and a server.
- It is one of the most versatile tools available on Linux, macOS, and Windows.
- Common Uses:
- Most people think of SSH as a remote login tool for command-line access to servers, but it offers much more functionality.
- A separate course could be dedicated to the various cool things you can do with SSH.
SSH Availability
- Linux Servers:
- Most Linux servers allow access via TCP port 22 for SSH.
- Other Devices:
- Many devices, such as routers with custom firmware, NAS (Network Attached Storage), and even smart TVs, may have SSH access, especially if they are Linux-based.
- Native Support:
- macOS and Linux: Comes with SSH natively, including command-line tools like
ssh,sshd(server),scp, andssh-keygen. - Windows: Initially lacked native SSH support but now includes it via PowerShell. Users often use PuTTY, a GUI-based SSH client for Windows.
- macOS and Linux: Comes with SSH natively, including command-line tools like
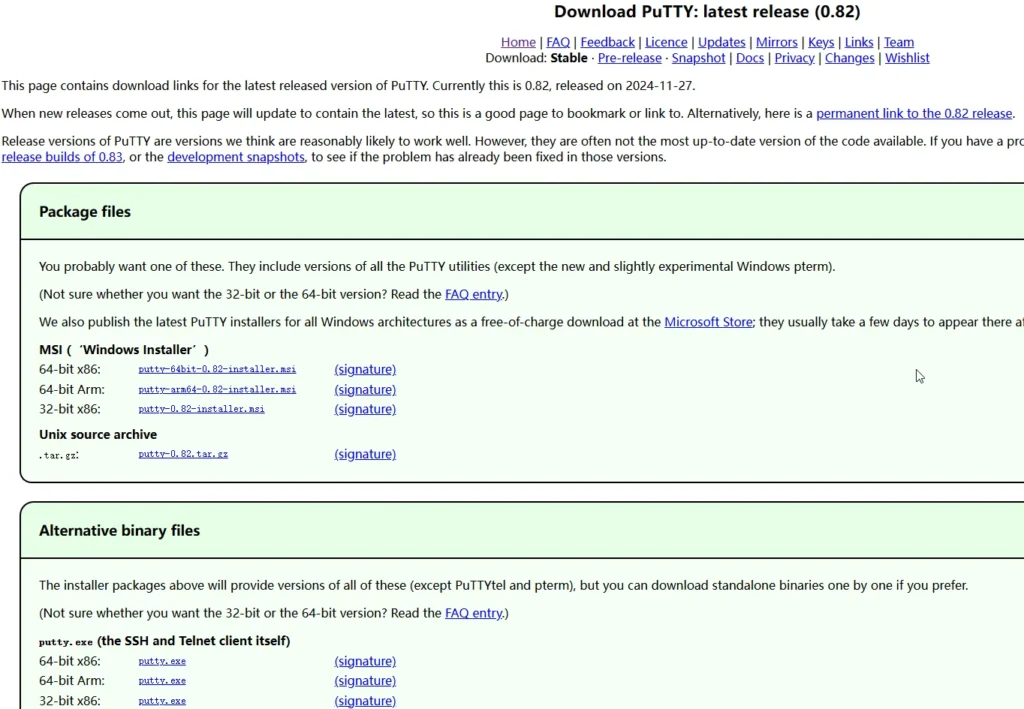
SSH Tools
- PuTTY for Windows:
- A popular GUI-based SSH client for Windows.
- Includes additional tools like PuTTYgen for generating SSH keys.
- Free and widely used for basic SSH needs.
Basic SSH Login
- Command-Line Login (Linux/macOS):
- Syntax:
ssh -p <port> <user>@<server> - Example:
ssh -p 22 root@192.168.1.1 - The
pflag specifies the port (default is 22). - It is recommended to log in as a standard user rather than root for security reasons.
- Syntax:
- PuTTY Login (Windows):
- Enter the hostname or IP address.
- Specify the port (default is 22).
- Select SSH as the protocol.
- Click “Open” and enter the username and password to log in.
SSH Configuration and Security
- Authentication Methods:
- Password Authentication: Simple but less secure.
- Public Key Authentication: More secure and recommended.
- Multi-Factor Authentication (MFA): Adds an extra layer of security.
- Hardening SSH:
- Disable root login via SSH.
- Use strong passwords or keys.
- Limit SSH access to specific users or groups.
- Update and patch SSH software regularly.
- Configure firewall rules to restrict SSH access to trusted IP addresses.
Practical Applications
- Secure Remote Access:
- Use SSH for secure remote administration of servers and devices.
- Anonymity and Privacy:
- Employ SSH for secure communication and data transfer.
- Data Security:
- Protect sensitive data by encrypting communication channels with SSH.
Remote Port Forwarding with SSH
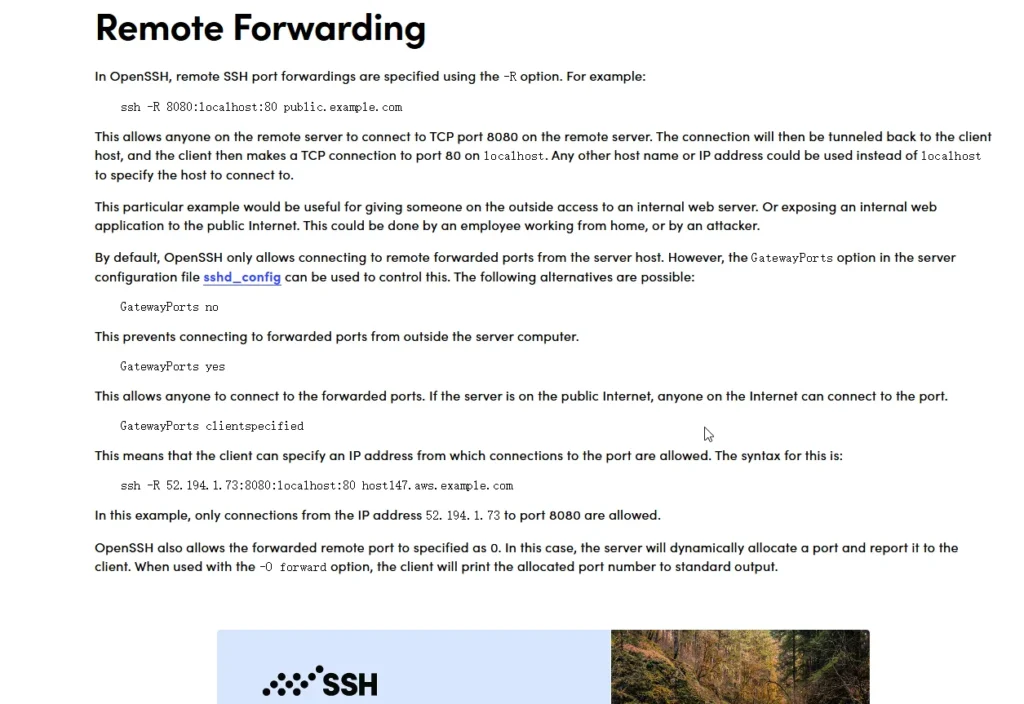
Overview
- What is Remote Port Forwarding?
- Remote port forwarding allows you to expose a local service (e.g., a web server) on your machine to a remote SSH server.
- This creates an inbound tunnel to your SSH server, making the local service accessible via a port on the SSH server.
- Use Cases:
- Expose a local web server or command-line access to a remote network.
- Useful for accessing services behind firewalls or NAT (Network Address Translation).
- Command Syntax:
ssh -R <remote_port>:localhost:<local_port> <user>@<ssh_server>- Example:
ssh -R 8080:localhost:9999 user@demo.offsce.com
Demonstration
- Setting Up a Local Service:
- A simple HTTP server is created using Python on port 9999.
- Command:
python -m http.server 9999(for Python 3).
- Executing Remote Port Forwarding:
- The command
ssh -R 8080:localhost:9999 user@demo.offsce.comis used to forward traffic from the SSH server’s port 8080 to the local machine’s port 9999.
- The command
- Testing the Forwarding:
- Accessing the SSH server’s port 8080 (e.g.,
http://demo.offsce.com:8080) displays the local web server’s content. - The HTTP server logs the incoming connection, confirming the forwarding works.
- Accessing the SSH server’s port 8080 (e.g.,
- Advanced Example:
- Using Netcat (
nc) to expose a bash shell on the local machine via the SSH server’s port 8080. - Command:
nc -l -p 9999 -e /bin/bash - This allows remote access to the local machine’s command line via the SSH server.
- Using Netcat (
Configuration for Remote Port Forwarding
- Firewall/IP Tables:
- Ensure the port (e.g., 8080) is open on the SSH server.
- Example command for IP tables:
iptables -A INPUT -p tcp --dport 8080 -j ACCEPT
- SSH Server Configuration:
- Edit the SSH server configuration file (
/etc/ssh/sshd_config). - Set
GatewayPortstoyesto allow remote port forwarding. - Restart the SSH service:
systemctl restart sshd(on Linux).
- Edit the SSH server configuration file (
Windows Example with PuTTY
- Setting Up a Local Service:
- Use Python to create a simple HTTP server on port 9999.
- Command:
python -m http.server 9999
- Configuring PuTTY:
- In PuTTY, go to the “SSH” > “Tunnels” section.
- Add a new forwarding rule:
- Source port:
9999(local port) - Destination:
localhost:8080(remote port) - Select “Remote” and click “Add”.
- Source port:
- Connect to the SSH server and test the forwarding.
Remote port forwarding is a powerful feature of SSH that allows you to securely expose local services to remote networks. By configuring the SSH server and firewall correctly, you can use this technique to bypass firewalls, access local services remotely, or even expose command-line access securely.
Local Port Forwarding with SSH
Overview
- What is Local Port Forwarding?
- Local port forwarding allows you to use a remote port as if it were a local port.
- This is essentially using SSH for outbound connections, where you connect to a remote service via an SSH tunnel.
- Use Cases:
- Securely access a remote service (e.g., a web admin interface or FTP server) that is blocked or restricted by a firewall.
- Encrypt traffic to a remote service without exposing it directly to the internet.
- Command Syntax:
ssh -L <local_port>:localhost:<remote_port> <user>@<ssh_server>- Example:
ssh -L 8080:localhost:6666 user@demo.offsce.com
Demonstration
- Example Scenario:
- A web server with an admin interface on port 6666 is blocked from external access.
- Instead of directly connecting to port 6666, the user creates an SSH tunnel to access it securely.
- Executing Local Port Forwarding:
- Command:
ssh -L 8080:localhost:6666 user@demo.offsce.com - This creates a local port 8080 on the user’s machine that forwards traffic to port 6666 on the remote server via an SSH tunnel.
- Command:
- Testing the Forwarding:
- Accessing
localhost:8080on the local machine connects to the remote server’s port 6666. - The connection is encrypted and secure.
- Accessing
Configuration for Local Port Forwarding
- Firewall Rules:
- Block external access to sensitive ports (e.g., 6666) to prevent unauthorized access.
- Allow SSH (port 22) for secure tunneling.
- SSH Server Configuration:
- Ensure SSH is properly configured to allow tunneling.
- No additional settings are required for local port forwarding, as it is enabled by default.
Windows Example with PuTTY
- Configuring PuTTY:
- In PuTTY, go to the “SSH” > “Tunnels” section.
- Add a new forwarding rule:
- Source port:
8080(local port) - Destination:
localhost:6666(remote port) - Select “Local” and click “Add”.
- Source port:
- Connect to the SSH server and test the forwarding.
- Testing the Forwarding:
- Accessing
localhost:8080on the Windows machine connects to the remote server’s port 6666.
- Accessing
Advanced Example: Forwarding to a Specific Destination
- Forwarding to an FTP Server:
- Command:
ssh -L 8080:ftp.example.com:21 user@demo.offsce.com - This creates a local port 8080 that connects to an FTP server on port 21 via an SSH tunnel.
- Command:
- Use Case:
- Useful when a specific port (e.g., FTP port 21) is blocked by a firewall, but SSH is allowed.
- Allows secure access to the FTP server without exposing it directly.
Local port forwarding is a powerful feature of SSH that allows you to securely access remote services via an encrypted tunnel. By creating a local port that forwards to a remote port, you can bypass firewalls, encrypt traffic, and enhance security. This technique is particularly useful for accessing sensitive services like web admin interfaces or FTP servers.
Dynamic Port Forwarding with SSH and Setting Up a SOCKS Proxy
Overview
- What is Dynamic Port Forwarding?
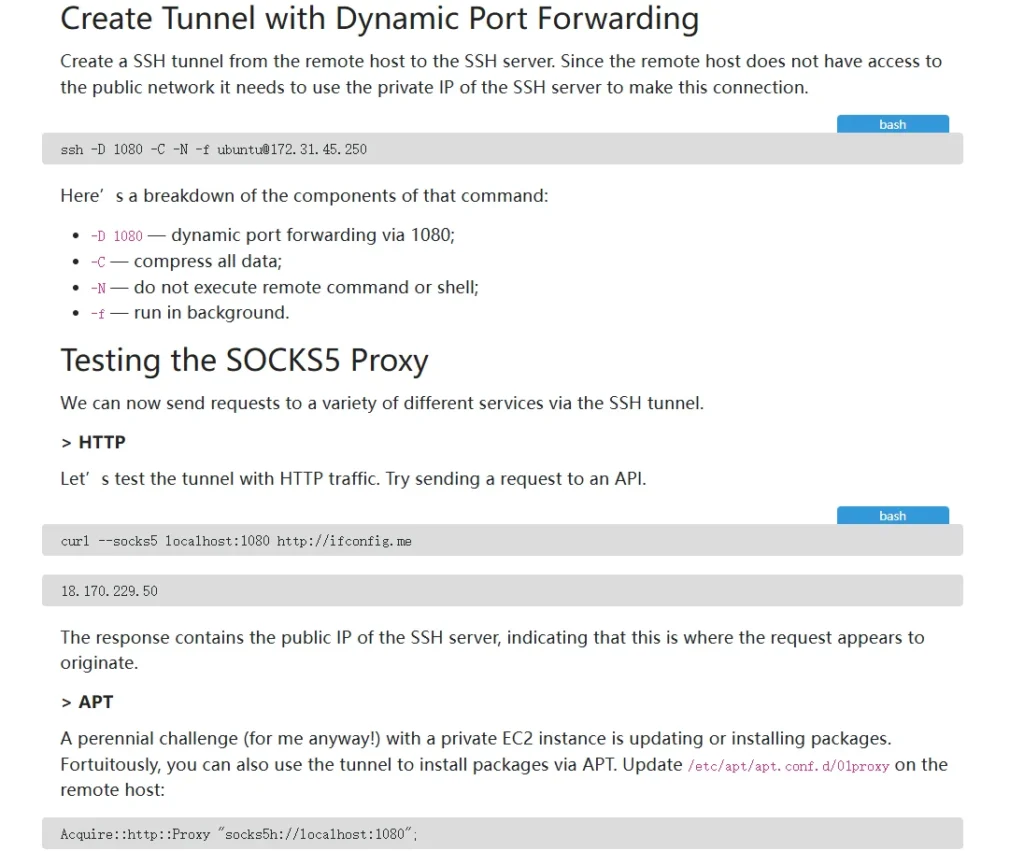
- Dynamic port forwarding allows you to create a local SOCKS5 proxy on your device that tunnels traffic through an SSH server.
- This enables you to use any protocol and access any site, as long as the SSH server allows it.
- Use Cases:
- Bypassing firewalls or network restrictions.
- Encrypting traffic to enhance privacy and security.
- Accessing geo-restricted content or services.
- Command Syntax:
ssh -D <local_port> -f -N <user>@<ssh_server>- Example:
ssh -D 8080 -f -N user@demo.offsce.com
Understanding the Command
D(Dynamic Port Forwarding):- Specifies the local port for dynamic application-level port forwarding.
- SSH acts as a SOCKS5 proxy server.
f(Background Mode):- Runs SSH in the background before executing the command.
- Useful for keeping the SSH tunnel running without a login prompt.
N(No Command Execution):- Prevents SSH from executing a command on the remote machine.
- Used when you only want to create a tunnel.
C(Compression):- Optional, compresses data for faster transfer.
Demonstration
- Creating the SOCKS Proxy:
- Command:
ssh -D 8080 -f -N user@demo.offsce.com - This creates a local SOCKS5 proxy on port 8080 that tunnels traffic through the SSH server.
- Command:
- Testing the Proxy:
- Configure your browser or application to use the local SOCKS5 proxy (e.g.,
localhost:8080). - Example: In Firefox, go to Preferences > Network Settings > Manual Proxy Configuration.
- Set the SOCKS Host to
localhostand the port to8080.
- Configure your browser or application to use the local SOCKS5 proxy (e.g.,
- Verifying the Proxy:
- Visit a website or use a tool like
ipinfo.ioto check if the traffic is routed through the SSH server. - Example: The IP address should match the SSH server’s location (e.g., Amazon Dublin data center).
- Visit a website or use a tool like
Using TSOCKS for Command-Line Tools
- What is TSOCKS?
- TSOCKS is a tool that forces command-line applications to use a SOCKS proxy.
- Useful for applications that don’t natively support proxy settings.
- Configuring TSOCKS:
- Edit the TSOCKS configuration file (
/etc/tsocks.conf). - Set the default server to
127.0.0.1and the port to8080(or the port used for the SSH proxy).
- Edit the TSOCKS configuration file (
- Using TSOCKS:
- Run commands with
tsocksto force them through the SOCKS proxy. - Example:
tsocks wget <http://ipinfo.io>
- Run commands with
Windows Example with PuTTY
- Setting Up the SOCKS Proxy:
- In PuTTY, configure the SSH connection:
- Set the hostname and port.
- Go to Connection > SSH > Tunnels.
- Set the source port to
8080and select “Dynamic”. - Click “Add” and then “Open”.
- In PuTTY, configure the SSH connection:
- Testing the Proxy:
- Configure your browser to use the SOCKS5 proxy (
localhost:8080). - Verify the traffic is routed through the SSH server.
- Configure your browser to use the SOCKS5 proxy (
Security Considerations
- Web Traffic Fingerprinting:
- SSH tunnels are susceptible to web traffic fingerprinting, where an adversary can guess the website being visited based on the traffic pattern.
- This is a passive attack that analyzes the size and timing of encrypted data streams.
- Mitigation: Use protocols like Tor or OpenSSH, which require more data before HTTP packets can be identified.
- Adversary Requirements:
- The adversary must be able to intercept and analyze your traffic (e.g., on a compromised network).
- If the adversary doesn’t have the traffic pattern, they cannot guess the website.
Managing the SSH Proxy
- Stopping the Proxy:
- Use
pkill sshorkill <PID>to stop the SSH process running in the background.
- Use
- Remote Command Execution:
- Use the
-flag to execute remote commands without creating a shell. - Example:
ssh user@demo.offsce.com -- whoami
- Use the
Comparison of proxifiers – Wikipedia
Dynamic port forwarding with SSH is a powerful feature that allows you to create a secure SOCKS5 proxy for encrypting and routing traffic. While it enhances privacy and security, it is important to be aware of potential vulnerabilities like web traffic fingerprinting. Use tools like TSOCKS or proxifiers to force applications to use the proxy, and always consider the security implications of your setup.
Public-Private Key Authentication for SSH
Overview
- Why Use Public-Private Key Authentication?
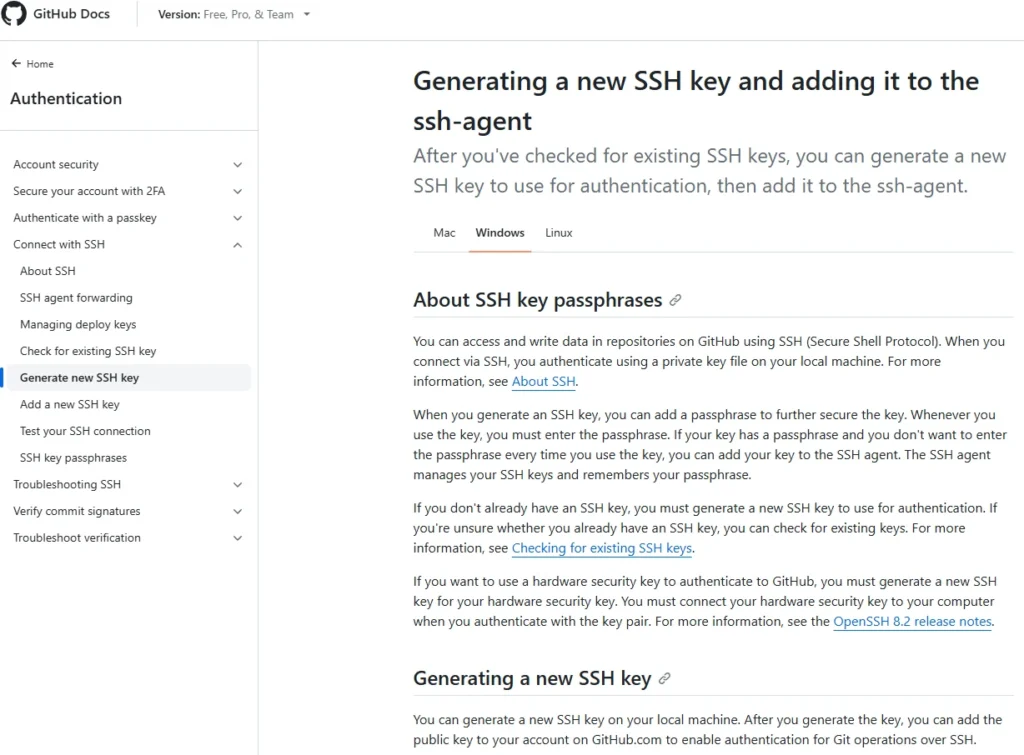
- Public-private key authentication is more secure than password-based authentication.
- It eliminates the need for passwords, reducing the risk of brute-force attacks.
- How It Works:
- Generate a pair of keys: a public key and a private key.
- Place the public key on the SSH server.
- Use the private key for authentication without needing a password.
Generating Keys on Linux/Mac
- Command:
ssh-keygen -t rsa -b 4096 -C "user@client"- Example:
ssh-keygen -t rsa -b 4096 -C "tim@debian"
- Key Generation Process:
- Choose a location to save the keys (default is
~/.ssh/). - Encrypt the private key with a passphrase (optional but recommended).
- The passphrase is used to decrypt the private key when logging in.
- Choose a location to save the keys (default is
- Key Files:
- Public Key:
id_rsa.pub - Private Key:
id_rsa
- Public Key:
Copying the Public Key to the SSH Server
- Using
ssh-copy-id:- Command:
ssh-copy-id -i ~/.ssh/id_rsa.pub user@server - This automatically copies the public key to the server’s
~/.ssh/authorized_keysfile.
- Command:
- Manual Method:
- Use
catto manually copy the public key to the server:cat ~/.ssh/id_rsa.pub | ssh user@server "mkdir -p ~/.ssh && cat >> ~/.ssh/authorized_keys"
- Use
Logging In with Public-Private Key Authentication
- Using the Private Key:
- When logging in, SSH will prompt for the passphrase to decrypt the private key.
- If no passphrase is set, the login will be automatic.
- Local Authentication vs. Server Authentication:
- The passphrase is for decrypting the private key locally.
- The server authenticates using the public-private key pair.
Troubleshooting on Ubuntu/Gnome Keyring
- Agent Admitted Failure to Sign:
- This is a known bug with Gnome Keyring.
- Solution: Add the private key to the SSH agent:
ssh-add ~/.ssh/id_rsa
Generating Keys on Windows with PuTTY
- Tools Needed:
- PuTTYGen (for generating keys)
- Pageant (for managing keys)
- Generating Keys:
- Open PuTTYGen and select the key type (e.g., SSH2 RSA).
- Generate the key pair by moving the mouse to create randomness.
- Save the public and private keys.
- Encrypt the private key with a passphrase.
- Copying the Public Key to the Server:
- Copy the public key content and add it to the server’s
~/.ssh/authorized_keysfile.
- Copy the public key content and add it to the server’s
- Using Pageant:
- Run Pageant and add the private key.
- Enter the passphrase to decrypt the private key.
- Logging In with PuTTY:
- Configure PuTTY to use the private key:
- Go to Connection > SSH > Auth.
- Select the private key file.
- Log in without needing a password.
- Configure PuTTY to use the private key:
Generate SSH Private and Public Keys in macOS Big Sur
Public-private key authentication is a secure and efficient way to log into an SSH server. By generating and managing keys properly, you can eliminate the need for passwords and reduce the risk of unauthorized access. Whether you’re using Linux, Mac, or Windows, the process is straightforward and provides a high level of security.
Hardening SSH and Additional Authentication Methods
Server-Side Hardening
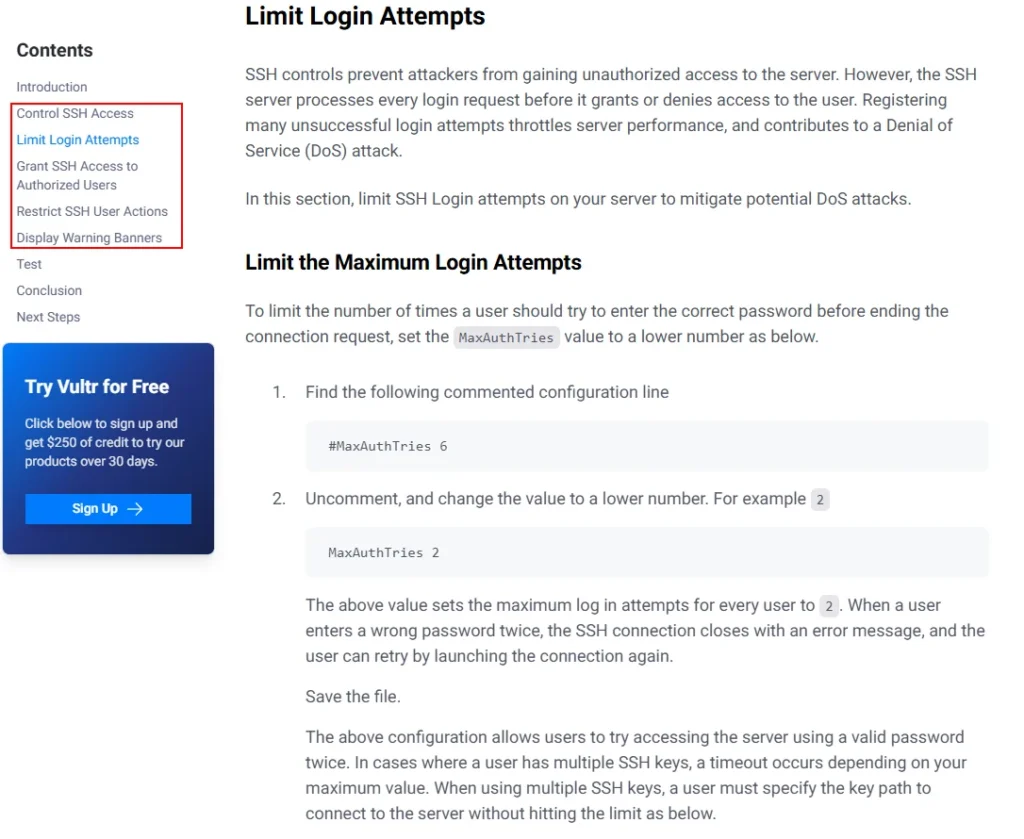
- Configuration File:
- Edit the SSH server configuration file:
/etc/ssh/sshd_config. - Use modern settings for OpenSSH 9.8+ for enhanced security.
- Edit the SSH server configuration file:
- Key Settings:
- Key Exchange Algorithms: Set a secure order (e.g.,
curve25519-sha256,diffie-hellman-group-exchange-sha256). - Ciphers: Use strong ciphers (e.g.,
chacha20-poly1305@openssh.com,aes256-gcm@openssh.com). - MACs (Message Authentication Codes): Use secure MACs (e.g.,
hmac-sha2-512-etm@openssh.com).
- Key Exchange Algorithms: Set a secure order (e.g.,
- Disable Password Authentication:
- Use public-private key authentication instead of passwords.
- Set
PasswordAuthentication no.
- Verbose Logging:
- Enable detailed logging to track user activity.
- Set
LogLevel VERBOSE.
- SFTP Logging:
- Log SFTP file access for auditing purposes.
- Set
Subsystem sftp /usr/lib/openssh/sftp-server -l INFO.
- Disable Root Login:
- Prevent root login via SSH.
- Set
PermitRootLogin no.
- User Privilege Separation Sandbox:
- Use sandboxing for better security.
- Set
UsePrivilegeSeparation sandbox.
Client-Side Hardening
- Configuration File:
- Edit the SSH client configuration file:
~/.ssh/config. - Force clients to connect only to servers with known host keys.
- Specify preferred host key algorithms, key exchange algorithms, MACs, and ciphers.
- Edit the SSH client configuration file:
- Key Generation:
- Use
ssh-keygenwith strong algorithms (e.g.,ed25519). - Fallback to RSA for compatibility with older systems.
- Use
Additional Authentication Methods
- Multi-Factor Authentication (MFA):
- Use tools like All toolkit or Duo Security for MFA.
- Configure PAM (Pluggable Authentication Module) for integration.
- OpenPGP/GPG Authentication:
- Use OpenPGP or GNU Privacy Guard (GPG) keys for authentication.
- Check the provided link for detailed instructions.
- Google Authenticator:
- Install the Google Authenticator PAM module.
- Enable two-factor authentication with a time-based one-time password (TOTP).
- **YubiKey Authentication:**
- Use YubiKey for hardware-based two-factor authentication.
- Follow the provided link for setup instructions on various platforms.
Security/Guidelines/OpenSSH – MozillaWiki
Hardening SSH involves configuring both the server and client to use the most secure settings available. By disabling password authentication, enabling verbose logging, and implementing multi-factor authentication, you can significantly enhance the security of your SSH setup. Additionally, using strong encryption algorithms and sandboxing mechanisms ensures that your SSH server is as secure as possible.
Conclusion
SSH is a cryptographic network protocol offering secure communication between networked computers. It’s used for secure data communication, remote login, command execution, and other secure network services. SSH provides local, remote, and dynamic port forwarding, enhancing security and privacy.
Public-private key authentication offers a more secure login method than passwords, eliminating brute-force risks. Hardening SSH involves server and client configuration for security, disabling root login, and enabling MFA. Despite network issues preventing the parsing of certain URLs, the key points on using SSH for optimal security, privacy, and anonymity remain valid. For the URLs provided, please check their legitimacy and retry due to potential network-related problems.

